A few months ago, when my wife was sewing something, the machine began to jam. It turns out that one of the plastic gears had been eaten up pretty bad by a metal one. So I went to repair it. After all, I bought the machine for $5 at a garage sale, and the repair was still much less than buying another one.
I disassembled it, and found it was much harder to get apart than I had anticipated.

There was a mess of rods, fasteners, bearings, and things I’ve never learned names for.
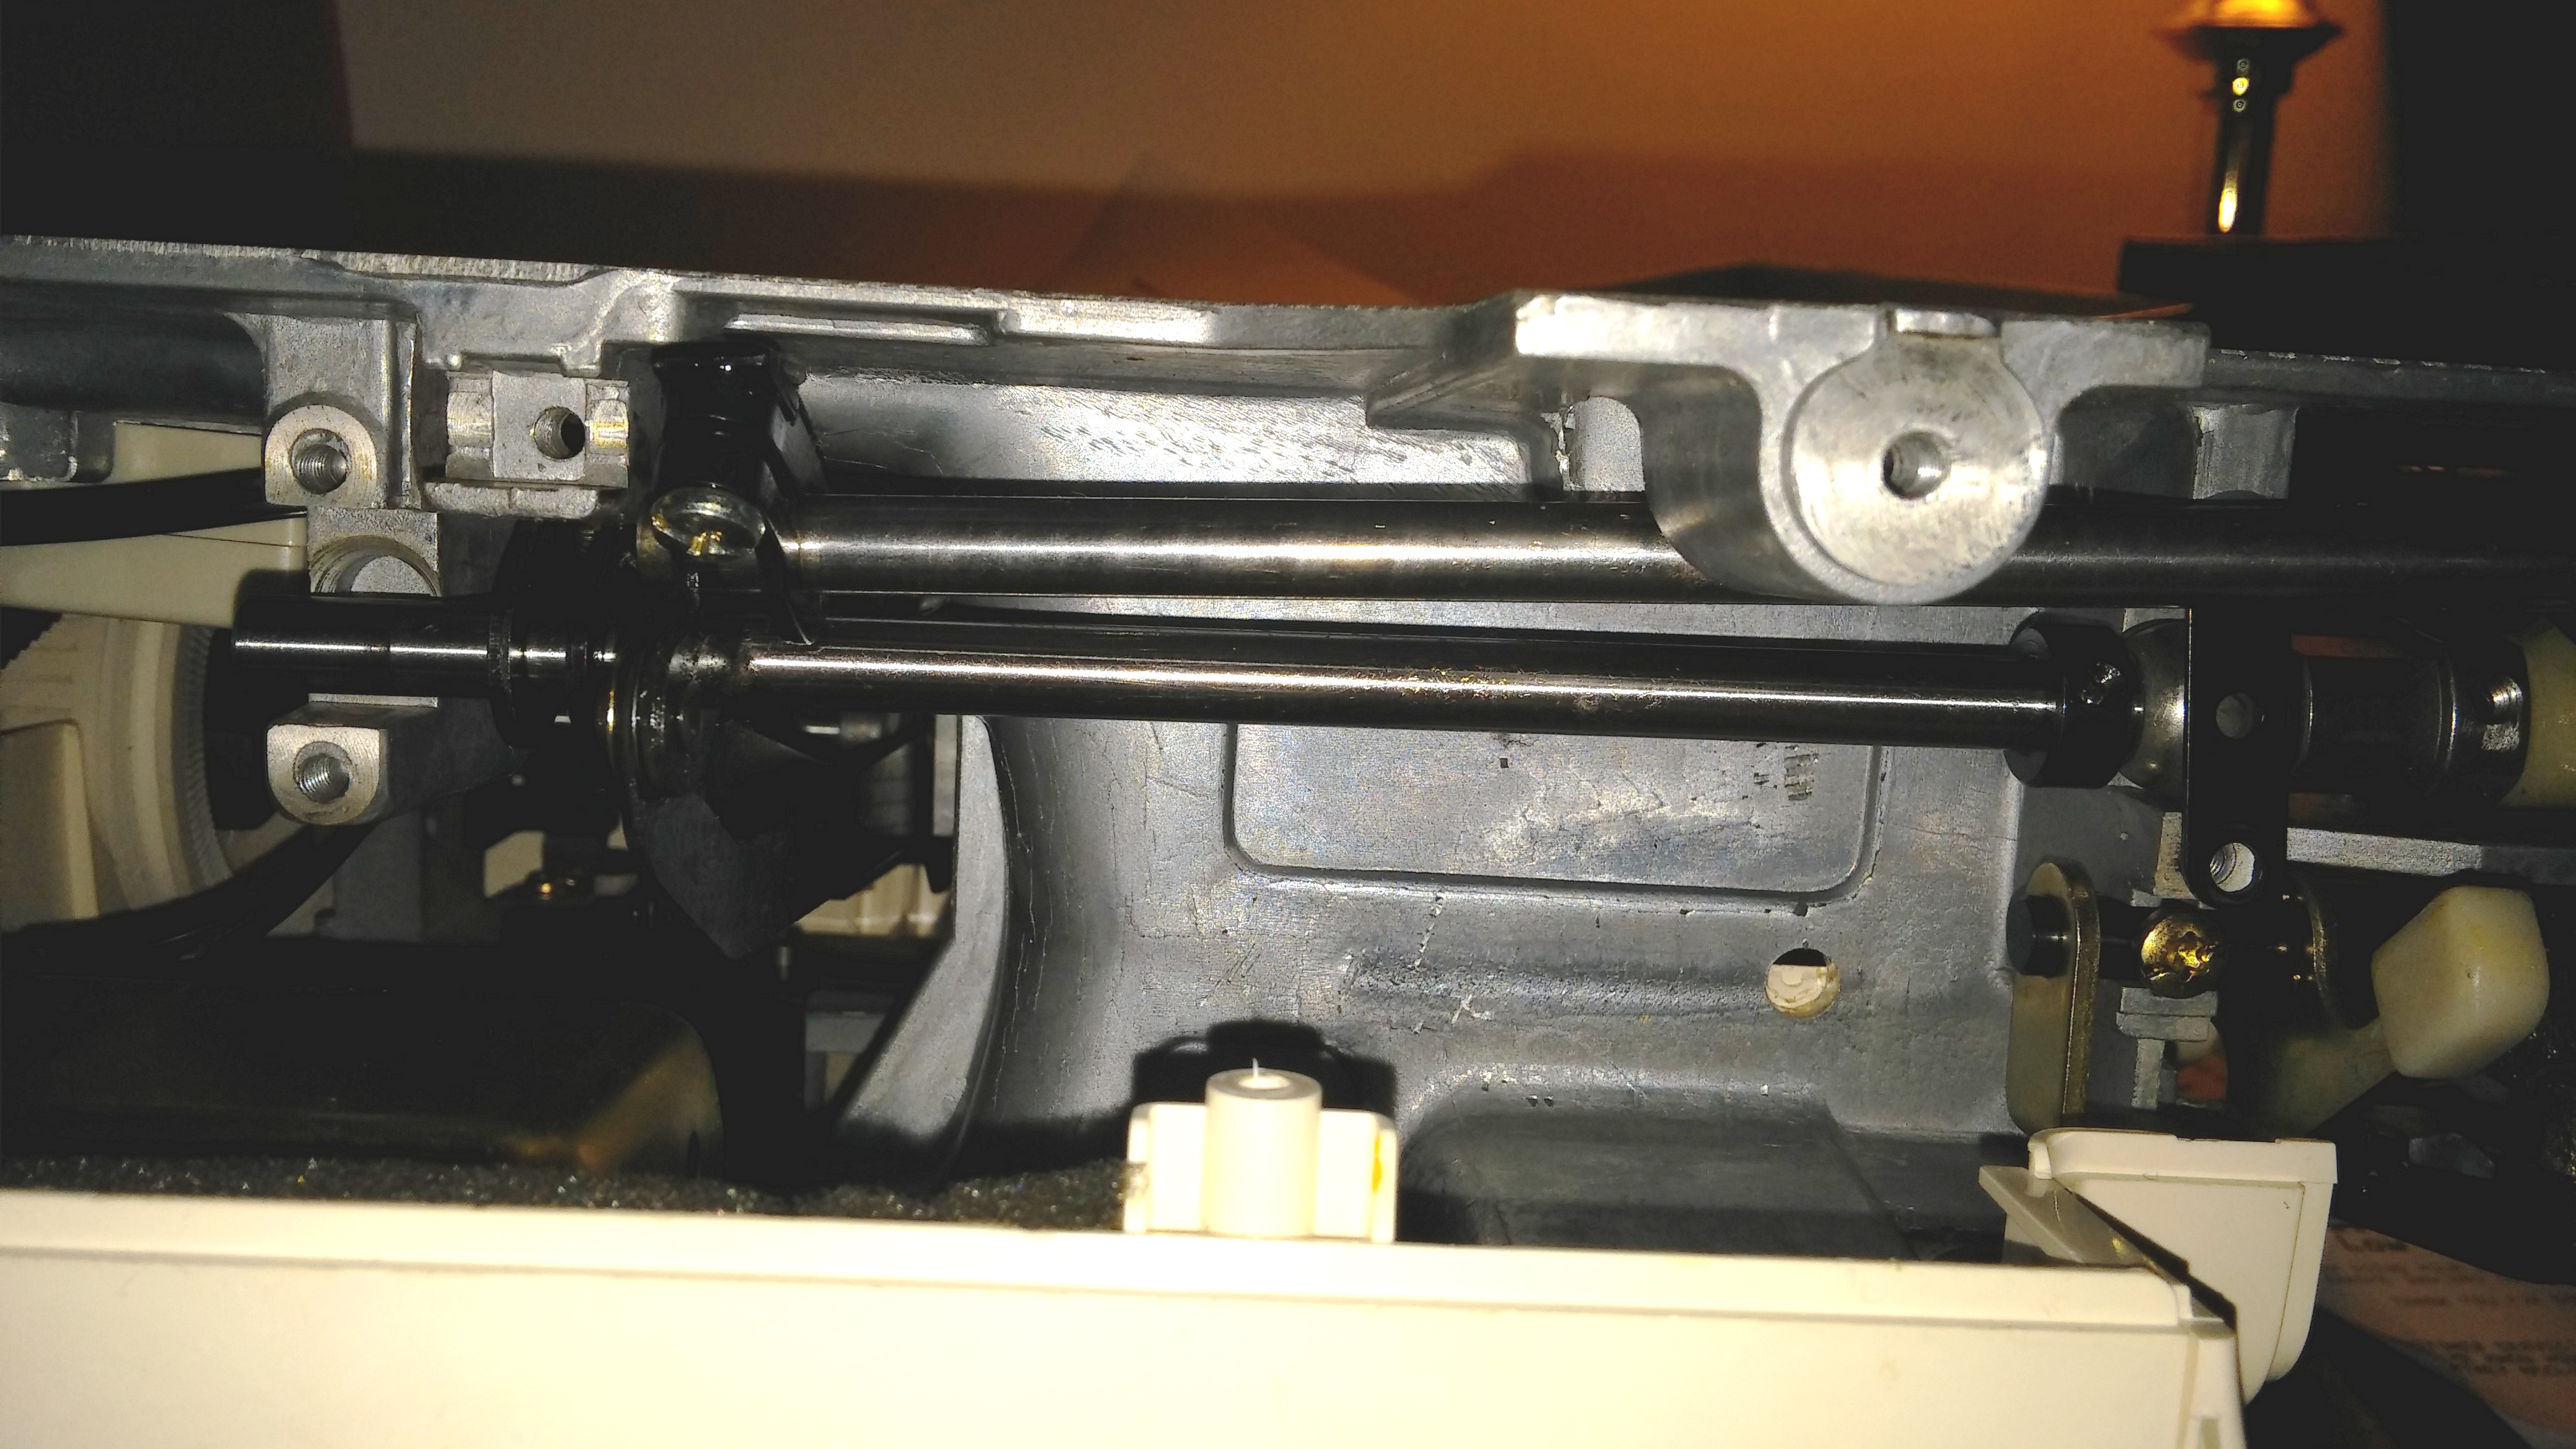
The reason the plastic gear (not pictured) was chewed up was because the dog gear was sticking. So, I removed the offending parts to see what was wrong.
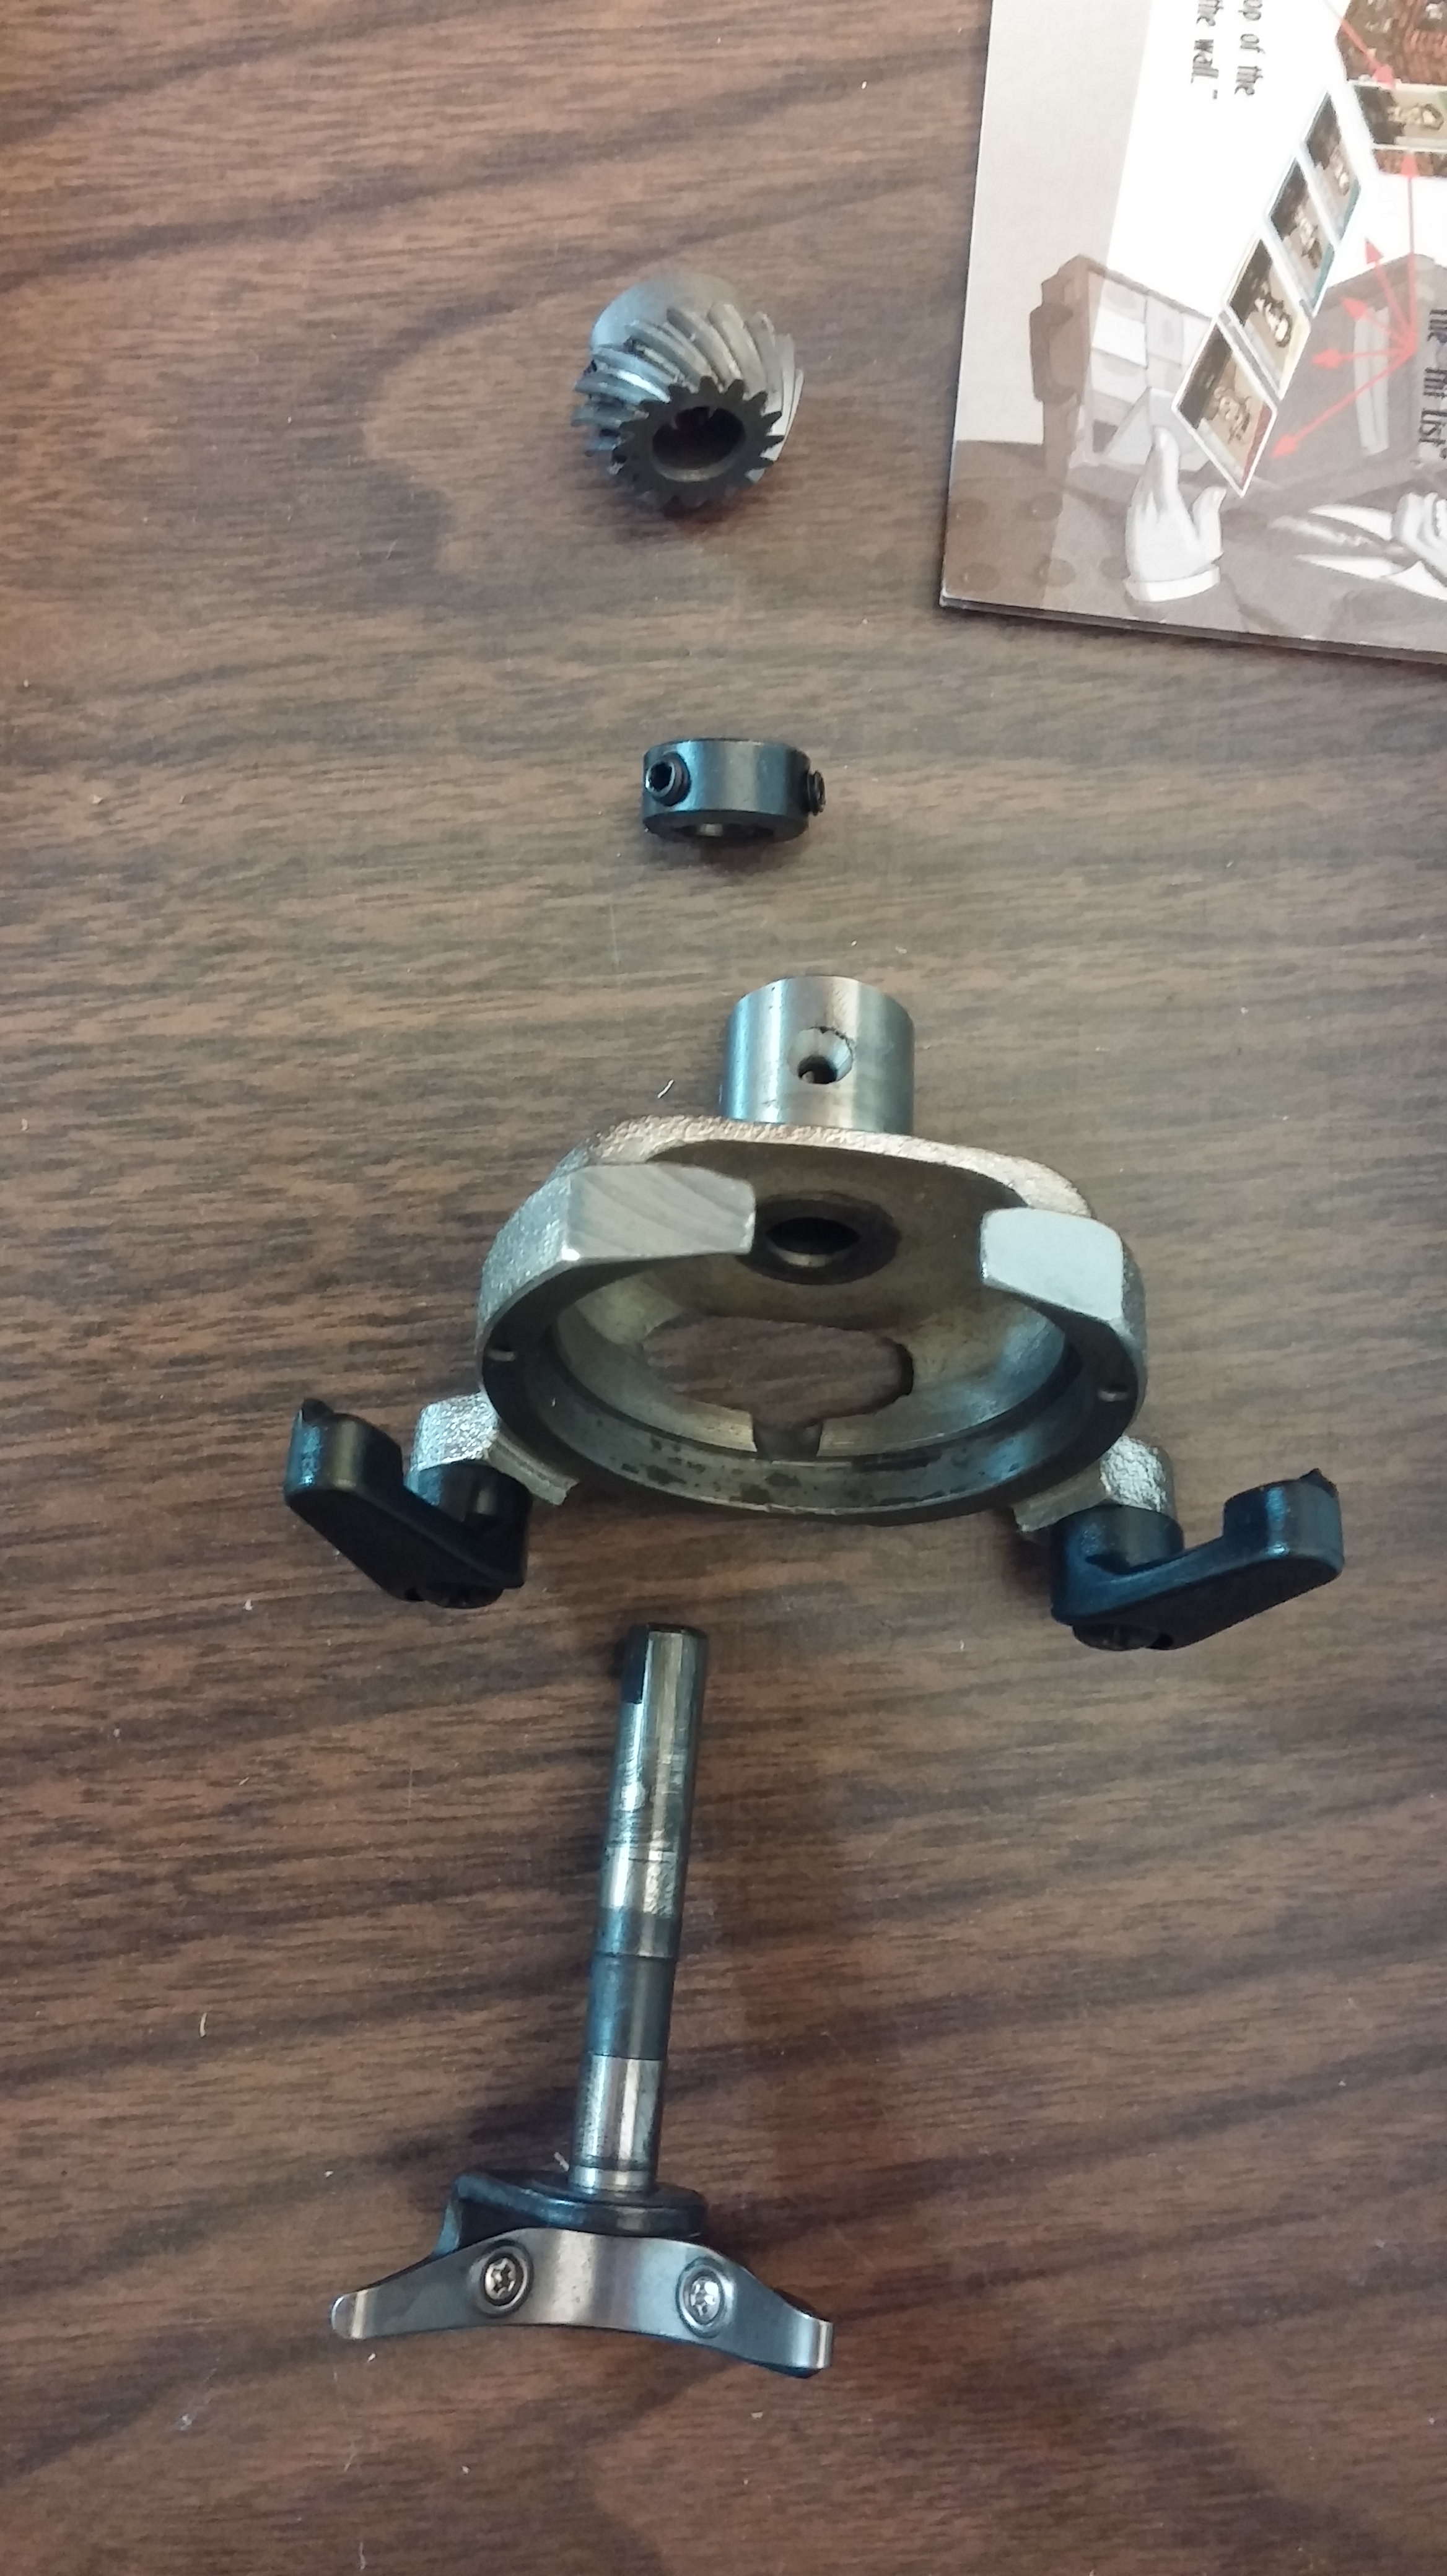
I ended up replacing the plastic gear ($30, for the part). By far the longest part of the project was trying to align the plastic gear and the dog gear on the right teeth, since I had not marked these when I took them apart. Since the plastic gear rocks back and forth, it controls how far the bobbin shuttle rotates. If it is too far in either direction, it can break the needle or fail to catch the thread.
Anyway, so after a lot of trial and error, I finally reassembled it all. Just to be sure, I lubricated the shafts and gears with turbine oil (not WD-40!). Now it is working good as new!
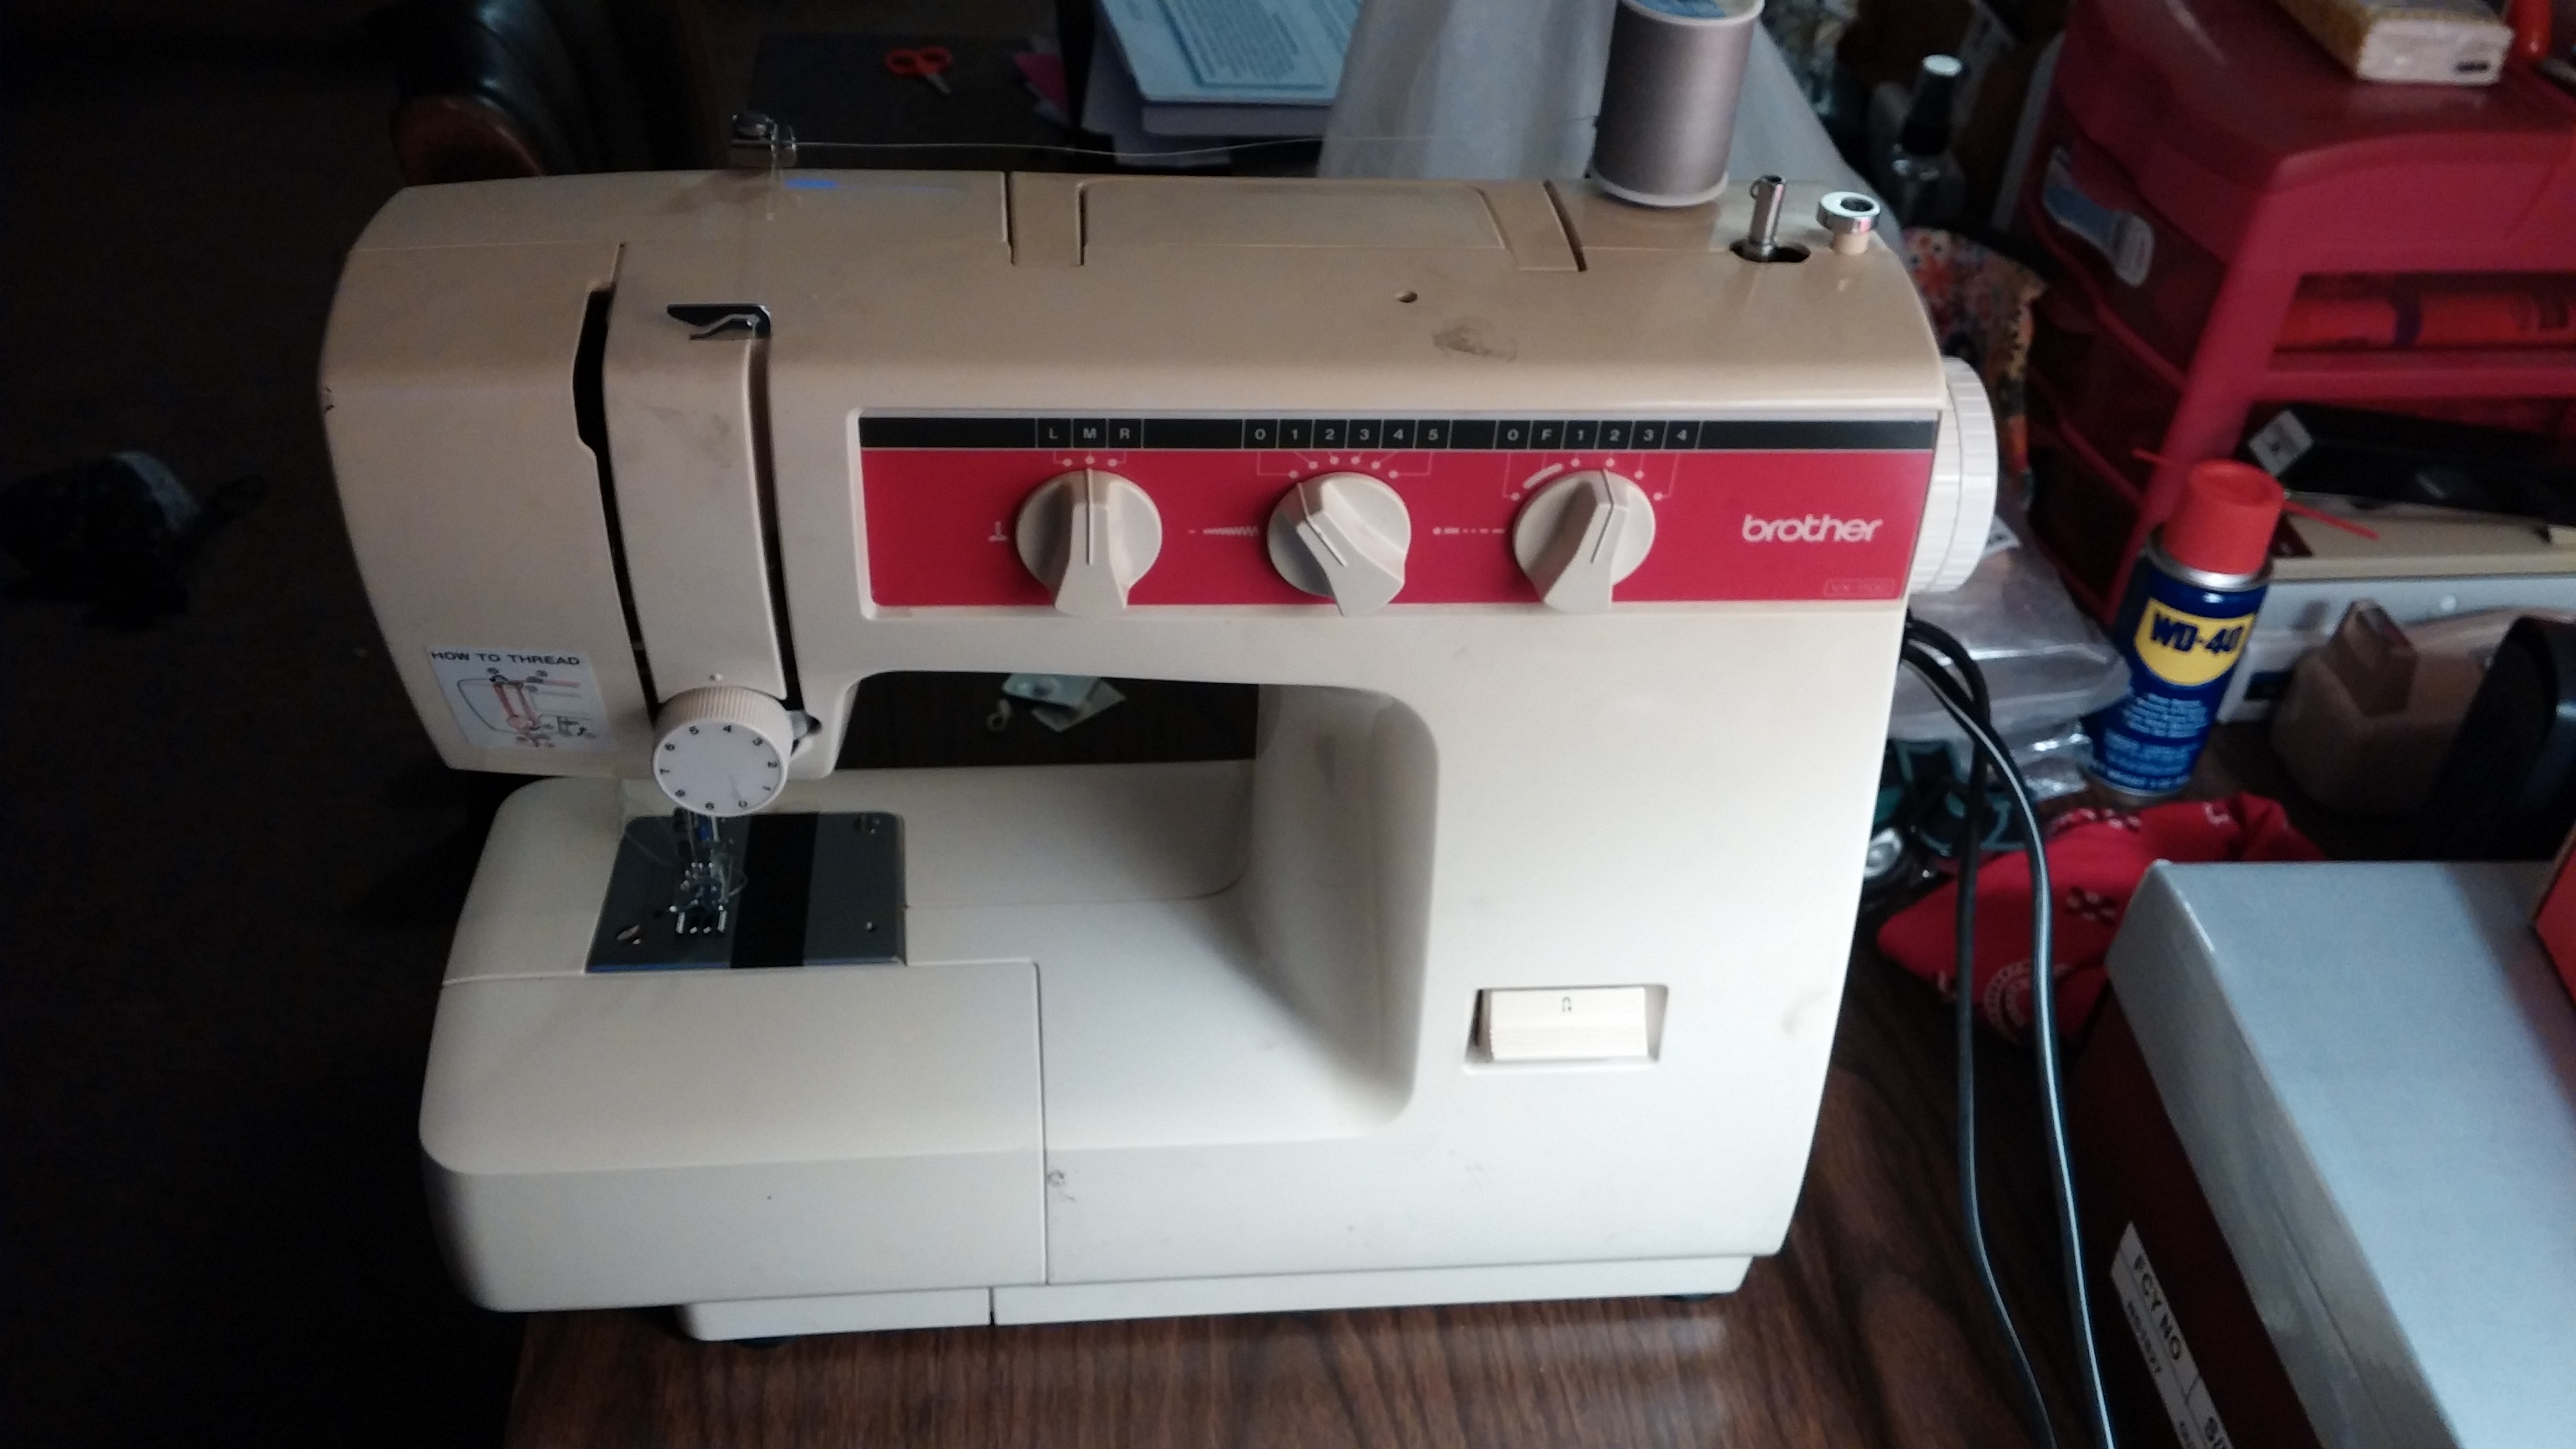
This is one of the more complex mechanisms I’ve seen, and I was pretty happy that I figured out what was wrong, how to get it back together, and actually fix it.

Leave a comment